Showing posts with label Sewing. Show all posts

Monday, October 28, 2013

Step-by-Step Soap Making, Oil Cleansing, New Venue, and A New Dress

I'm going to start off this post by showing you a step-by-step glance at how I make my soap. I wouldn't say it is a tutorial. More of a glimpse of how soaps are traditionally made. I have a few extras to share after, as it has been a busy week at the homestead. Following the soap, I will share some photos of my oil cleansing products, reveal my master marketing plans for this coming week, and share a collage of a dress I just finished making. Enough delay, onward...


Here is my Tallow that I had rendered from beef suet a few days ago. I have it in my soap pot and have weighted it according to the recipe. It will need heated to 120 degrees, and so I will turn the burner on low to get it started while I work on other things. 


This soap will be an Oatmeal & Honey soap. I was making a bar with Oatmeal, sage and yarrow, however I will be soon replacing it with the new Oatmeal & Honey. Here I take Organic Steel Cut Oats from Speerville Flower Mill and grind it to a soft, fine powder, leaving just enough grains to give a gentle exfoliation. 


Next up is the lye solution. I measure carefully and exactly the lye crystals into one jar. Also, I weigh the proper amount of cold water. Then, taking it outside, I slowly pour the lye crystals into the water (never pouring the water onto the lye). While I add the lye, I stir and stir until the lye dissolves. At this point, the solution of water and lye reacts to create a lot of heat. In order to add this solution to my tallow, it needs to drop in temperature considerably. I place it in a cold water bath, and monitor it with a thermometer while I return to the tallow, which is still warming on the stove. 


My son asked to help make soap today, and so here he is with the tallow. We have warmed it to just below 120 degrees, and he is stirring it as it continues to warm. It's important to watch the temps closely, because if the temp gets too high, then you have to readjust the heat again. 


Finally both the lye solution and the fats have reached their proper temperatures. Now it's time to mix. I slowly pour the lye solution into the fats, all the while stirring. 


Once all the lye has been added, I grab the stick blender with my free hand, and with both hands stirring, work the newly forming soap until it reaches "trace". Trace is the stage to which the soap thickens to a soft whip cream consistency.


I always line my pans. Some people don't, but I find it is easier to remove the loaf, and makes for an easy clean-up.


Pouring the soap into the mold.


Smoothing out the top of the loaf


Me! Ha!


I had pre-heated the stove to 100 degrees, and have 2 baking stones in there to absorb that heat. After I shut off the stove, I open the door just slightly to let some heat out. Once it is warm to touch, I place the soap loaf into the oven and close the door. I leave the tallow soap to incubate for the afternoon (normally 6-10hrs).


Soap incubating.


I was explaining to my son about the saponification process and the need to incubate. Essentially, slowly letting the soap gradually cool as the lye and fats continue to turn, chemically, into soap and glycerin.

* * * * * * * * * * * * * *

Here's just a few shots of me making oil facial cleansers. 


* * * * * * * * * * * * * * * * * * *

Now, I have a few shots showing the display I have been working on. I have a space held for me at the Woodstock Farmers Market where I will be setting up on Nov 1st. With only days away, I have been adding the finishing touches. I am pretty excited to be returning to the down town market. I had vended there a few years ago, selling jewelry and sewn items, however once my youngest guy was born I found maintaining such a space was more demanding than I could keep up with. Times have changed, and I'm coming back! 


...and last but not least, here is the dress! It makes me feel pretty.


Wednesday, October 23, 2013

"Cheap Trick" Wednesday. *Consume no more* Sewing, Alterations, and Saving your money.


Over the weekend I was handed 6 pairs of very nice jeans that were just my size. You see, after breastfeeding for 27 mths I had packed on some spare weight. Last January, when I decided to retire my job as a source of food for my little, marked the beginning of a new era and turned my instinctual "must store fat" response into one that has gradually had me return to my pre-pregnancy weight. -30lbs later, I was still wearing my size 10 jeans and subsequently looked as though I was either *really frumpy* or like I was packing something in the trunk. It wasn't until a friend of mine insisted that I try on her new (and much smaller jeans) that I realized how much smaller I really was, and also that my current jean collection was very much in need of retirement. On our trip to Moncton last week I did splurge and purchase a very nice and well fitting pair of jeans. Yay! Then, to my surprise, this past weekend, my sister-in-law handed down to me 6 pairs of jeans in my new size! I was absolutely ecstatic! Trying them all on though, I quickly discovered how much my sister is in love with flare & boot cuts. This I am not. I freeze to death in the winter as the chilled, snapping air whipps around and up my leg though the gaping fabric of a flare leg pant. So, I knew something had to be done. Being thrifty, I set into altering them. All 6 pairs. Above is a before and after photo. 

I will add this post to my "Cheap Tricks" labels. I intend to, as promised, share tips for saving money onward in form of blogging. This is the first. This is a prime example of how we, as "consumers" can have the temptation to go off and in this situation purchase many new jeans. Instead, if you have gone down only a few pant sizes, why not try salvaging what you have? In my case, I went down 6 sizes and so that large of an alteration just wasn't in the cards. Those pants, that are too big to alter, will be passed on to my sister-in-law, who is expectant with child and will be needing after baby pants. In this case, I simply altered these fitting pants to suit my own specific taste. I grew up in an era of bell bottoms and big flares, but since the re-emergence of the straight leg, and skinny jeans (which I cannot tolerate wearing), I fall into that place where I can pretty much choose what I want without standing out as a weird eyesore marked "fashion faux pas"...even so, I do on occasion find myself wearing some pretty "out-of-the-box" ensembles. Back on topic, I am sure that because of the recent switch form flare to skinny, there are many mothers out there with teenage daughters that are asking for the new fashion rave. Although I do not support the trend in these "barbie doll" style jeans (simply because they give girls a false since of body image), altering their current stash of jeans to narrow up the legs may save many families a lot of cash. Why toss good jeans simply to buy more good jeans? Anyhow..if you are the least bit handy with a needle, this is pretty beginner stuff. Go and use a friends machine and get your pants right, instead of worrying about buying any new ones. If you don't sew and don't have the courage to try it out, then bring your pants here. I can walk you through it step by step. 


TUTORIAL


1) Here I started out but trying on the pant to determine if, and how much I wanted to alter. 


2) Then, turning the pant inside out, I mark with a pin where exactly I want the pant to fit. For me, I started bringing it in just at the knee, and where it started to flare. I marked one pant only. Take special care when taking the jeans off, as the sharp pins may scratch you or come out. 


3) Laying the jeans out on the table I lined up both pant legs so as to measure and match the alterations. I put the leg with the pin on the bottom, and the unmarked leg on top. As I set the pin in the top leg, I gently lift it and poke through at just the same place the pin is on the bottom leg. 


4) Sew in a rather straight line all the way down the pin line. Be sure to back sew, front sew, & repeat a few times when first starting to sew, and then again when finishing off. This makes sure that your stitching is tied off at both ends and won't come apart when in the wash.


5) Sew a second line just to the right of your first line using a wide stitch. I set my stitch length at 2 for this..making it a good solid fray barrier. If I had my mothers serger here, I would serge this edge. 


6) Finally, cut off the excess material. If you are concerned, you can try them on first, but I suggest trying them on inside out. If you flip them right side out, they may seem taught as the extra fabric will take up space. 


Again, here is the after photo..


..and I have 3 more jeans to go. 


Monday, October 21, 2013

-Bohemian Hand Bag- "Indie Dusk"


-Bohemian Hand Bag-
"Indie Dusk" 
...Ethical and sustainable. 
Hand sewn & hand painted artisan graphic hand bag.

This over-sized bag is equipped with two exterior decorative pockets, giving it both functional and cosmetic appeal. The "over the shoulder" straps are generously wide and support the bag at hips length when worn in the sling position. A gentle color pallet provides a natural feel for late autumn and winter months.

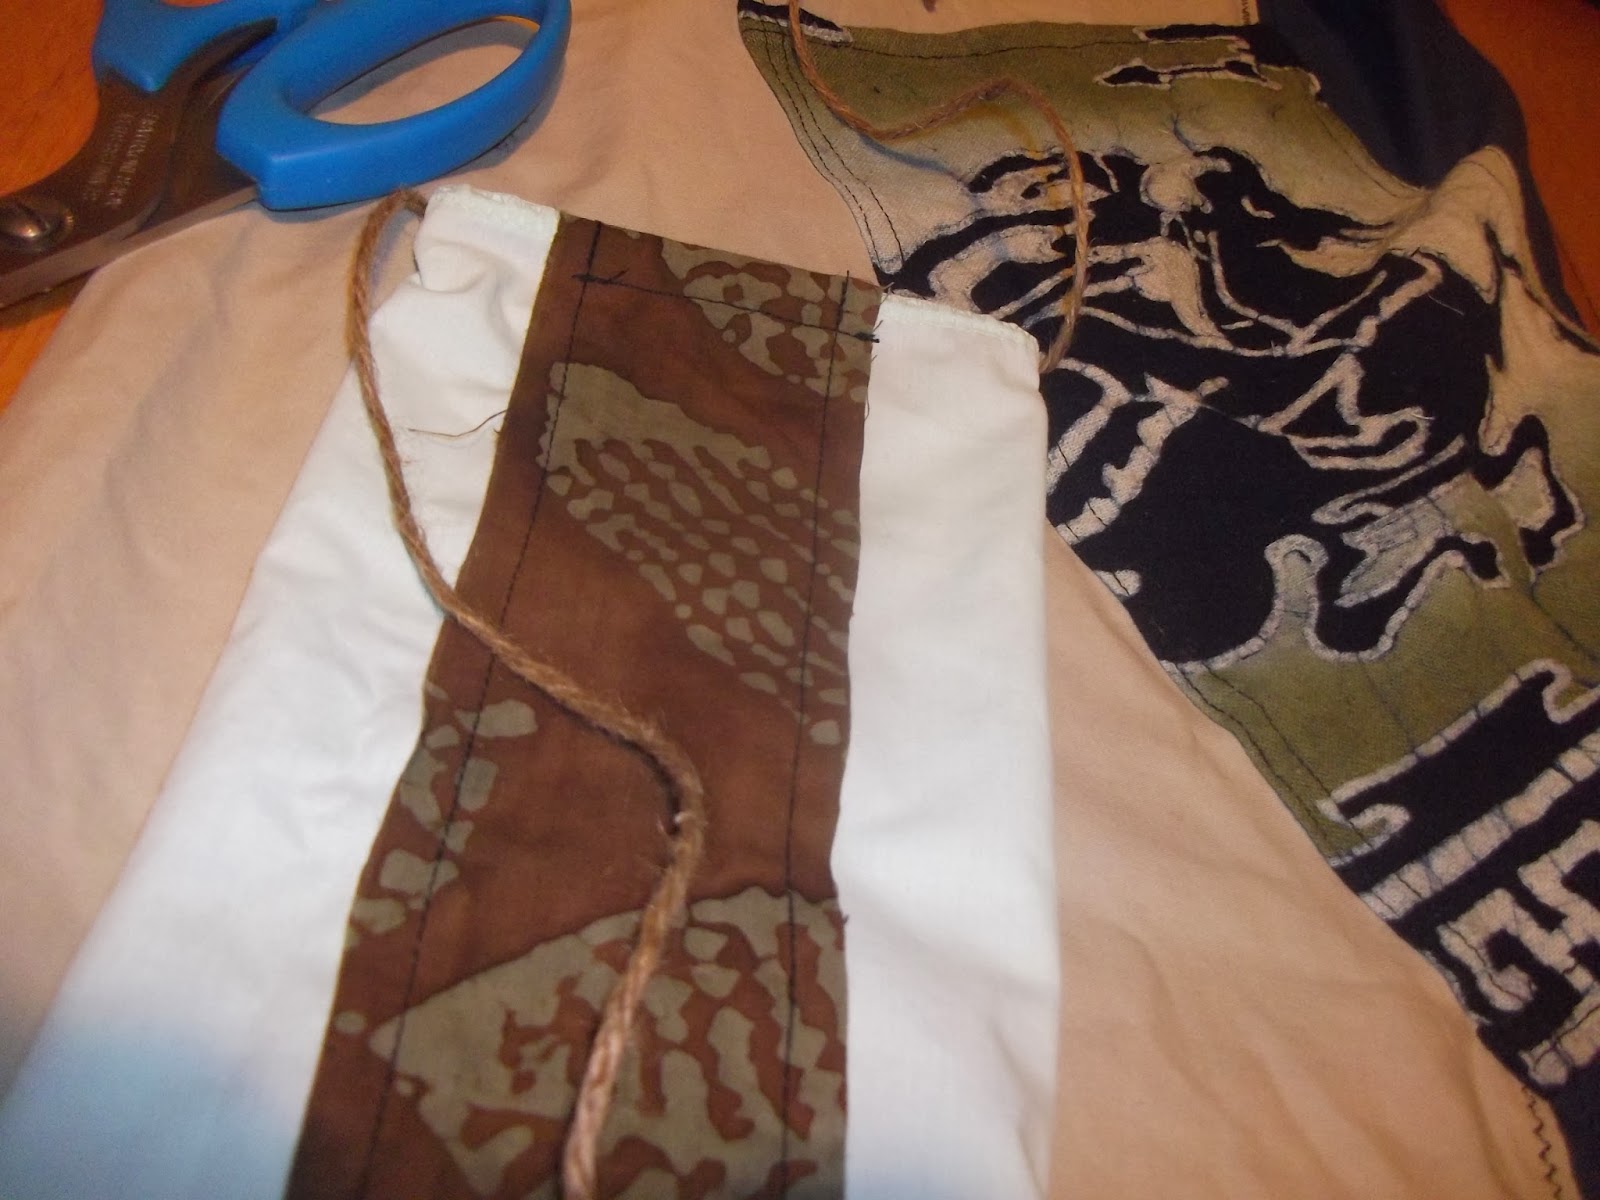
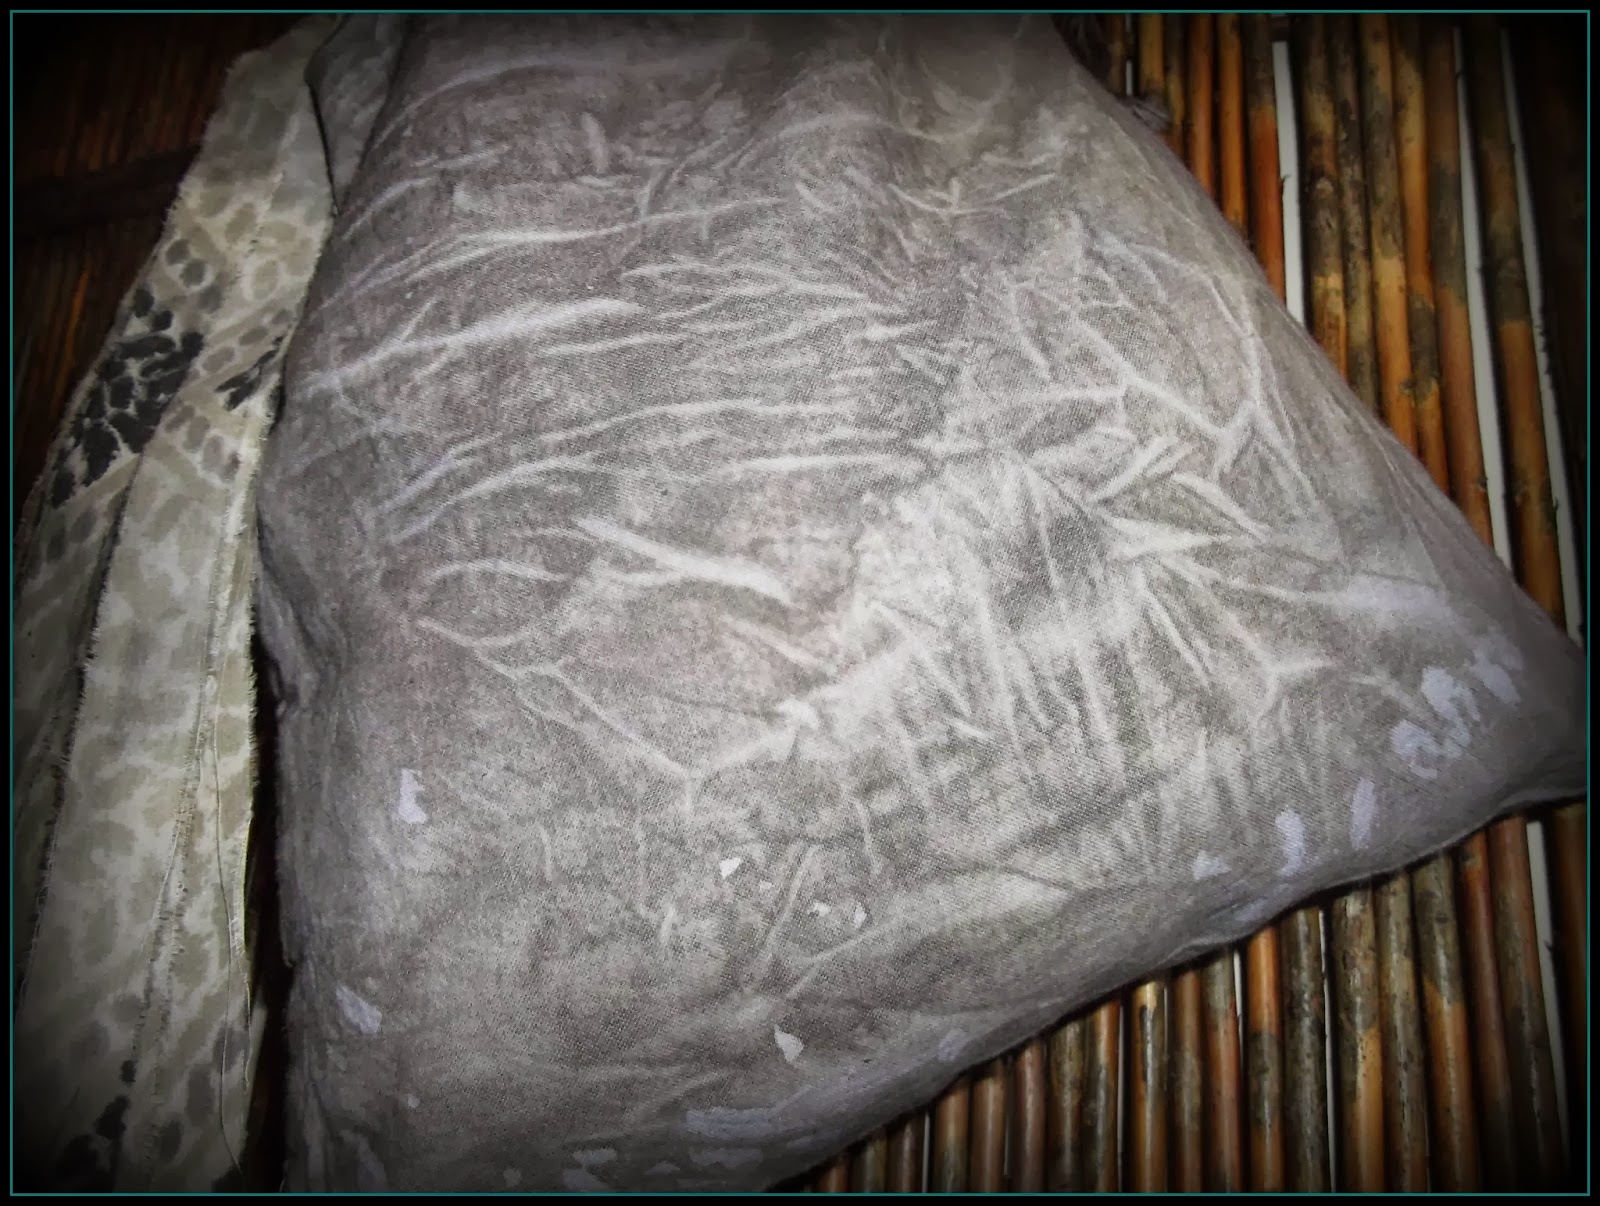
See below for detailed progress photo's as well as the final photo shoot which shows the finished detail.


* * * * * * * *


Sunday, October 20, 2013

Artisan Workmanship as an alternate to Child Labor and Unethical Corporate Operations


I have a vision. It includes fabricating all of our own clothing. Why? It's simple. Somewhere, someone is working for pennies a day to provide me a means of obtaining clothing at a very cheap price. That same article of textile, may also be by the brow sweat of a child, only then to be shipped around the world and in the process unnecessarily using fossil fuels to gratify my personal needs. We rarely shop new in our home. For that very reason, someone making a good profit at the expense of a less fortunate people. A people who, if they were offered true opportunities for growth and advancement, may find themselves in rewarding trades and caring for the needs of their own families in a way that is much more economical than what they have been forced into as their only option for survival. Here, in my small corner of Carleton County, I strive to provide for our own needs economically. Often times it includes a lot of second hand deals, yard sales and hand me downs. I often find myself in a place where finding suitable clothing that both reflects my values and emits an essence of who I am, can be hard. Skirts, in particular are hard to find. I prefer long skirts, and being rather tall, I have a hard time to find a good length that is practical for me. I have made many of my own skits. I have big plans for this winter to create a pattern for pants that my Husband and Children can wear. Seems the male gender is extremely hard on jeans (at least in this home), and my gent's often require odd sizes. I often find myself sifting through my children's clothing and weeding out inappropriate options. For example, we don't allow skulls and cross bones on the kids clothing, or rebellious slogans..but they are often gifted to us, or passed on and land here. I also find myself sorting through my tops. After having been enlightened to the complex and often controversial topic of modesty, I have found more and more that the slim fit and v-neck style of women's fashion tops is both not for me and hard to avoid. And so, I have come to a place where using my practical sewing skills, has shown a benefit to my family. Each year I learn more about how clothing is designed, and how to piece it together. Each year, I add a few pieces to my own closet, and now I am ready to offer those options to the other members of the home, with their willingness.

As part of broadening my audience for the hand sewn, died, and artisan graphics I create, I am also offering a selection of items for locals to enjoy in. My wish is for them to value quality artisan work, that has come by way of ethical and sustainable means where the workers get paid an honest pay. The only true way to voice the concerns about child labor and reject the caste systems in India is through a boycott. When we refrain from enabling the big corporations with our hard earned cash, they want to know why. They have men in suits hired for a large salary to research consumer behavior. If we, as the mass of consumers (North America?) would put our money where our mouth is, then we can be change. When they see the money going to ethical and sustainable providers (instead of their own, inhumane operations), they can and will respond to that by adopting those same values, or go broke). I am but one person, but my desire is to offer an alternative to mass factory, and low wages. 


-Bohemian Hand Bag-
"TRIBAL INK"


I have spent some time working with fabrics these past few weeks. Today I finished a very special piece. I name it "Tribal Ink". With patience, I watched as my hands worked the bare muslin into its form. Then I used the ink from wild forage shaggy mane mushrooms to base dye the textile, and then pattern dye with a mixture of  hand picked local blueberries and home grown spinach. Rinsing the final debris away, to reveal the colors is always such an exciting moment. Ahh..perfect color. Up-cycling some remnant fabrics, I add character and interest to the structure. And finally, the long awaited hand printed graphics are created. This is the second of my -Bohemian Hand Bag- collection. The first has been kept as my personal favorite. I temptingly gazed at the collage, and longed for it for my own personal use...but hey, how many hand bags are *really* practical? Ahem..One.